

Peak Hurricane Season, Peak Storm Clips: A Field Guide to Verifying and Sourcing Citizen Video
Learn how to verify extreme weather videos, avoid misinformation, and source authentic footage through POV.
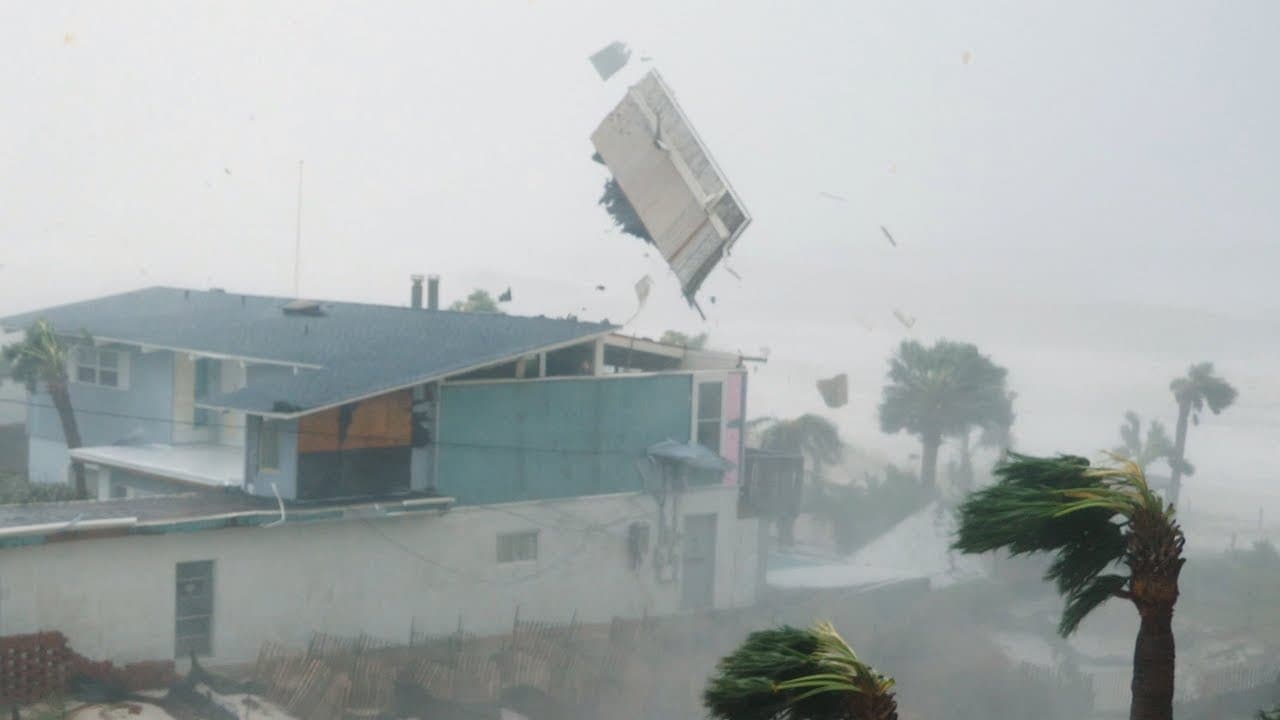
Every October, social feeds flood with jaw-dropping hurricane and severe weather videos. Citizen journalism sits at the center of this moment: on-the-ground footage helps the public and newsrooms see storm surge, wind damage, and road conditions in real time. It also attracts miscaptioned and fake clips. This guide shows how to verify storm videos, brief contributors safely, and use POV bounties to request exactly the footage you need.
Why storm clips dominate feeds right now
Seasonal reality: The Atlantic hurricane season statistically peaks in mid-September. Historical data show a pronounced ramp-up in tropical cyclone activity in early September, with the highest likelihood of storms around September 10 to 15. See NOAA’s hurricane climatology for the long-term pattern and why conditions align for peak activity at this time of year. NOAA
Audience demand: During hazardous weather, local video beats generic stock. Short, well-framed clips showing street flooding, downed trees, or infrastructure damage answer the public’s core question: what is happening where I live?
Misinfo risk: Familiar hoaxes resurface each season, including recycled storm clips mislabeled as “breaking” and meme artifacts like the infamous “shark on the highway,” which has been repeatedly debunked for years. Snopes
The problem with storm miscaptioning
Two dynamics drive confusion during weather emergencies:
Recirculation: Old videos from prior hurricanes get re-uploaded with new captions. If you see a “this minute” clip with no location markers or weather context, treat it as unverified.
Synthetic or edited media: Water, darkness, and motion blur make it easier to slip in AI composites or CGI. Many fakes are unsophisticated, but the adrenaline of breaking news can overwhelm skepticism.
The fix: a disciplined verification workflow, paired with precise requests to capture fresh, contextualized footage.
A verification playbook anyone can use
Before you share or buy a clip, run it through these checks:
Time and place audit:
Ask the filmer for the exact location (intersection, landmark) and time recorded. Request the same details in the caption if they post publicly.
Compare shadows, rain angle, and light level to local sunrise/sunset and the contemporaneous weather radar. A mismatch is a red flag.
Cross-check with official weather products (radar, watches/warnings, river gauges) to see if conditions match. NOAA Weather Radar, National Hurricane Center
Visual corroboration:
Map the scene: do building shapes, street layout, and signage match satellite or Street View?
Listen: accents, sirens, and PA announcements can be location clues.
Look for repeat uploads: use reverse image/video search to see if the clip appeared in earlier seasons. Bellingcat’s guide to reverse search
Provenance and metadata:
Ask for the original file, not a compressed re-share. Social platforms often strip EXIF metadata, but originals may retain date, device, and GPS tags.
Request a quick “verification shot” from the filmer: a 5-second pan showing a unique landmark or today’s newspaper/phone lock screen time at the same location.
Content credentials:
- Some creators and newsrooms have started attaching Content Credentials (C2PA) provenance to images or video assets. If present, review the embedded history for edits and capture details. C2PA
Ethical checks:
Avoid publishing license plates, faces in distress, or addresses unless there is a compelling public interest and you have appropriate consent.
Do not pay for footage that appears to have been captured unsafely.
How to brief contributors for better, safer storm video
When you need specific shots, specificity matters. Whether you are a newsroom, NGO, or researcher, here is how to brief citizen contributors in a storm:
Safety first:
Never ask anyone to go outside in dangerous winds, drive into floodwaters, or cross police or utility lines. If it is not safe, do not shoot.
Seek vantage points that are already secure, like upper floors or covered porches, and stop immediately if conditions worsen.
Context is king:
Start and end wide: include street signs, storefronts, or landmarks.
Hold shots for at least 5 seconds without whip-pans.
Narrate briefly: say the location, date, and time at the beginning.
Useful angles:
Flood depth with reference objects (curbs, car tires, door thresholds).
Infrastructure and transit: closed bridges, washed-out culverts, blocked bus or train routes.
Power and utilities: downed poles or lines (from a safe distance).
Access routes: which roads are open or closed near hospitals or shelters.
Audio matters:
- Wind noise can overwhelm important details. Shield your mic with a hoodie sleeve or body, and speak clearly.
Rights and delivery:
Keep the original file. Avoid filters or edits.
If possible, record a second angle or a 5-second verification shot at the end.
Using POV bounties to get exactly what you need
POV is built for precisely these moments. It works like this:
Users post bounties for footage at a specific location and time window. If you need a video of flood depth at the east entrance of a bridge between 3 p.m. and 5 p.m., you can define that bounty.
Others walk into the bounty circle, record, and submit video. Contributors who are already nearby can capture the requested shots and submit the original files.
The bounty poster pays for accepted video. You only pay for what you accept, and contributors are compensated for approved footage.
Pro tips for effective storm bounties
Draw tight, purposeful circles:
- Place your bounty circle on the exact intersection, facility, or shoreline segment you need. This reduces irrelevant submissions and travel risk.
Be ultra-specific in the brief:
- Example: “30-second clip showing water depth at the Elm St underpass. Start with a wide shot including Elm St sign, then show depth against the curb. Record between 4–6 p.m. today only.”
Require verification in the ask:
- Include: “State location, date, and time aloud at the start. End with a 5-second pan to nearest street sign.”
Add an ethics line:
- “Do not enter floodwater or cross barricades. Film only from a safe, dry vantage. If unsafe, do not attempt.”
Set fair rates and response windows:
- Pay for specificity and time sensitivity. Higher bounties help during dangerous conditions where fewer safe vantage points exist.
A quick case pattern: roads, bridges, and the morning commute
In the first hours after a tropical rain event, logistics updates lag. A simple, well-structured bounty can close that gap:
Goal: Map which river crossings are passable before the morning commute.
Bounty plan:
Post 5 small bounties at the five key bridges, each requiring a 20–40 second clip showing approach signage and water at the abutment.
Stagger time windows by 30 minutes to avoid crowding.
Ask for a single still photo after the video, capturing any official closure notice.
Outcome:
- Within an hour, you have verifiable, timestamped and geolocated clips that can be compared against gauge data and shared with the public. No one needed to drive a circuit in hazardous conditions.
Checklist: verify, brief, and publish
Before you request:
Define the exact location and timeframe.
Write a safety-first, shot-specific brief.
Set a bounty that matches difficulty and urgency.
Before you accept:
Confirm time/place via narration, landmarks, and weather context.
Compare to radar and official alerts.
Request original files or a quick verification pan if needed.
Before you publish:
Crop or blur sensitive data if not essential to the public interest.
Credit the filmer as agreed.
Add clear captions: location, date, time, and what the footage shows.
Why this matters
Citizen journalism in severe weather is not a spectacle. It is a public service that can reroute traffic, inform evacuations, and help neighbors assess risk. Good process turns raw clips into reliable information. Bounties turn chaotic demand into targeted requests that respect time, safety, and context.
Further resources
NOAA Hurricane Basics and Climatology: seasonal dynamics and safety guidance. NOAA
National Hurricane Center advisories and cone maps. NHC
Bellingcat’s visual verification primers for images and video. Bellingcat
Society of Professional Journalists Code of Ethics: minimize harm, seek truth, act independently. SPJ
Content authenticity and provenance standards. C2PA
📬 Be part of what’s next
POV is a citizen journalism app that turns everyday people into contributors. Post a bounty, request video from anywhere in the world, or walk into a bounty circle and get paid for your footage.
Learn more: https://pov.media
Sign up for early access: Subscribe to POV Stories
Follow us: @POVAppOfficial


